How to create your own website and blog (almost) free Link to heading
In this article, I will provide a detailed explanation of how I created my website using the static site generator called Hugo.
Important: Replace all test_website with your project name
Table Of Contents
Static site generator Link to heading
Static site generators, such as Hugo and Jekyll, offer a more streamlined approach to website development. Unlike traditional dynamic websites, which generate content on the fly, static sites are pre-rendered and served as plain HTML, CSS, and JavaScript files.
One of the main advantages of static sites is their incredible speed. Since the content is pre-generated, the server only has to serve static files, resulting in lightning-fast load times. This improved performance can greatly enhance the user experience and even increase search engine rankings. Additionally, static site generators offer simplicity in development, deployment, and maintenance. With no requirement for server-side scripting or databases, static sites can be hosted on affordable static file hosts or even on services like GitHub Pages.
Choosing between Jekyll and Hugo Link to heading
While both Jekyll and Hugo are popular static site generators, there are some key differences between them.
- Jekyll, which is written in Ruby, was introduced earlier and has a larger community and more extensive documentation. Jekyll uses the Liquid templating language, allowing for easy customization and flexible content management.
- Hugo, developed with Go, is known for its incredible speed and efficiency. It utilizes Go templates, which are simpler and faster. This makes Hugo an excellent choice for larger projects or websites that require frequent updates. In addition, Hugo supports multiple content formats, including Markdown, HTML, and Org-mode, while Jekyll primarily focuses on Markdown.
Ultimately, the choice between Jekyll and Hugo depends on individual requirements, skill sets, and preferences. In my case I have decided to use Hugo.
Choosing a theme Link to heading
Once I had chosen Hugo as my static site generator, the next step was to select a theme for the website. I visited the Hugo Themes website and browsed through the list of available themes. After reviewing various options, I ultimately decided to go with the “Coder ” theme.
Installing and Configuring Hugo on Your Computer Link to heading
To install Hugo there are 2 dependencies.
If you are using a derivative of the Debian distribution, you can execute the following command:
sudo apt install hugo git -y
Using Git to have versions and branches Link to heading
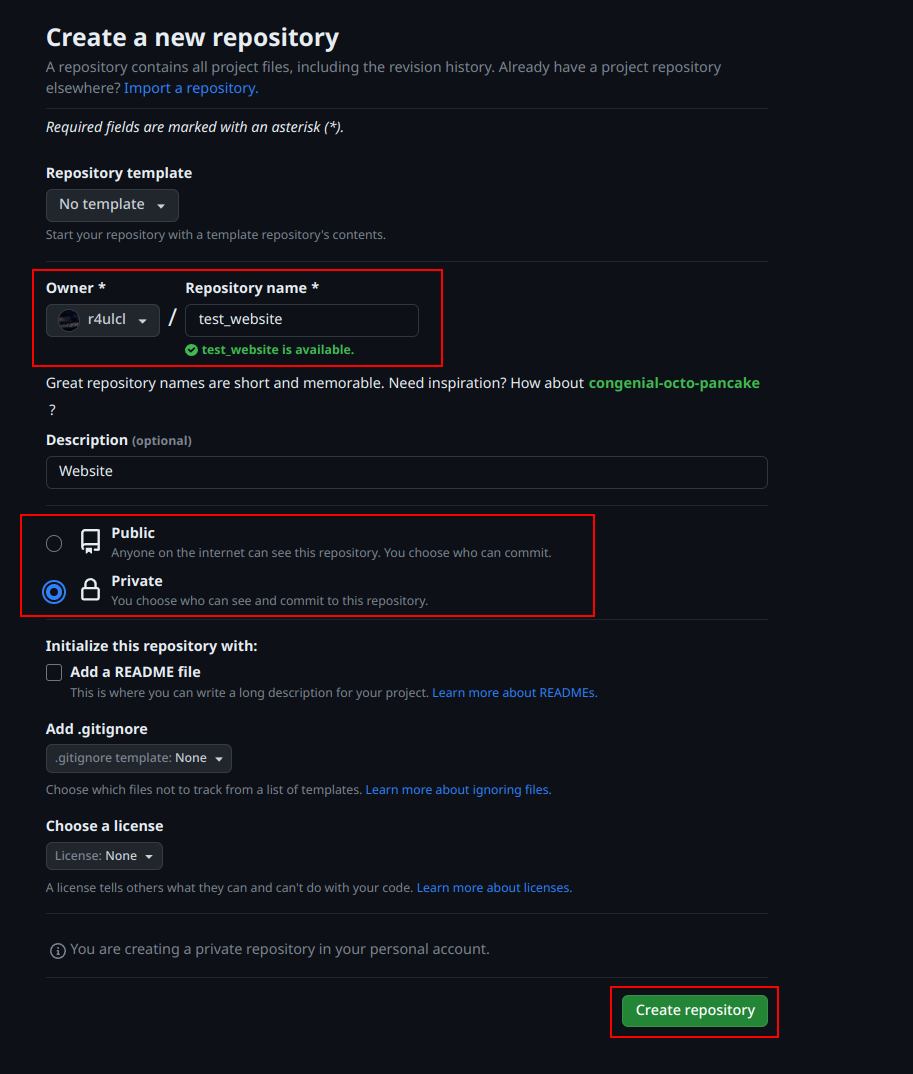
First, we need to create the private repository on GitHub.
Next, we create the folder locally and initialize the repository (change the repo URL and name to yours).
mkdir test_website
cd test_website

echo "# test_website" >> README.md

git init

git add README.md

git commit -m "first commit"

git branch -M main

git remote add origin [email protected]:r4ulcl/test_website.git

git push -u origin main
Basic configuration Link to heading
Once the GitHub repository has been created, the website can be created using Hugo by executing the following commands:
# test_website is an example name
hugo new site test_website
cd test_website

# Download the selected theme
git submodule add https://github.com/luizdepra/hugo-coder.git themes/hugo-coder

# Remove the default config file
rm hugo.toml
Editing config and info Link to heading
With the basic configuration in place, I proceeded to customize the website according to my requirements. I copied the test version of the theme and checked if it worked by running the following commands:
cp themes/hugo-coder/exampleSite/* . -r

hugo server

Next, I made changes to the website, including modifying the content and deleting the test information from the theme. For more information on how to configure the theme, I referred to the GitHub repository . After making all the necessary changes, I committed everything to GitHub using the following commands:
git add .
git commit -m "Firt upload website"
git push
Using the main and development branches Link to heading
Once we have everything ready, we can create a development branch for all future changes. The process will be as follows:
- Check the changes locally.
- Make a commit to the development branch.
- Check the website in PRE.
- Make a pull request to the main branch to definitively update it.
# Create branch
git branch develop
# Change to develop branch
git checkout develop
Publishing your site Link to heading
Now that we have the website up and running and ready on the local server, it is time to publish it on the Internet. For this, we mainly have two options:
- GitHub
- Cloudflare
Github or Cloudflare Link to heading
Both options will create and maintain the public web for free, but in this case, I will use Cloudflare because it allows you to have a private code repository.
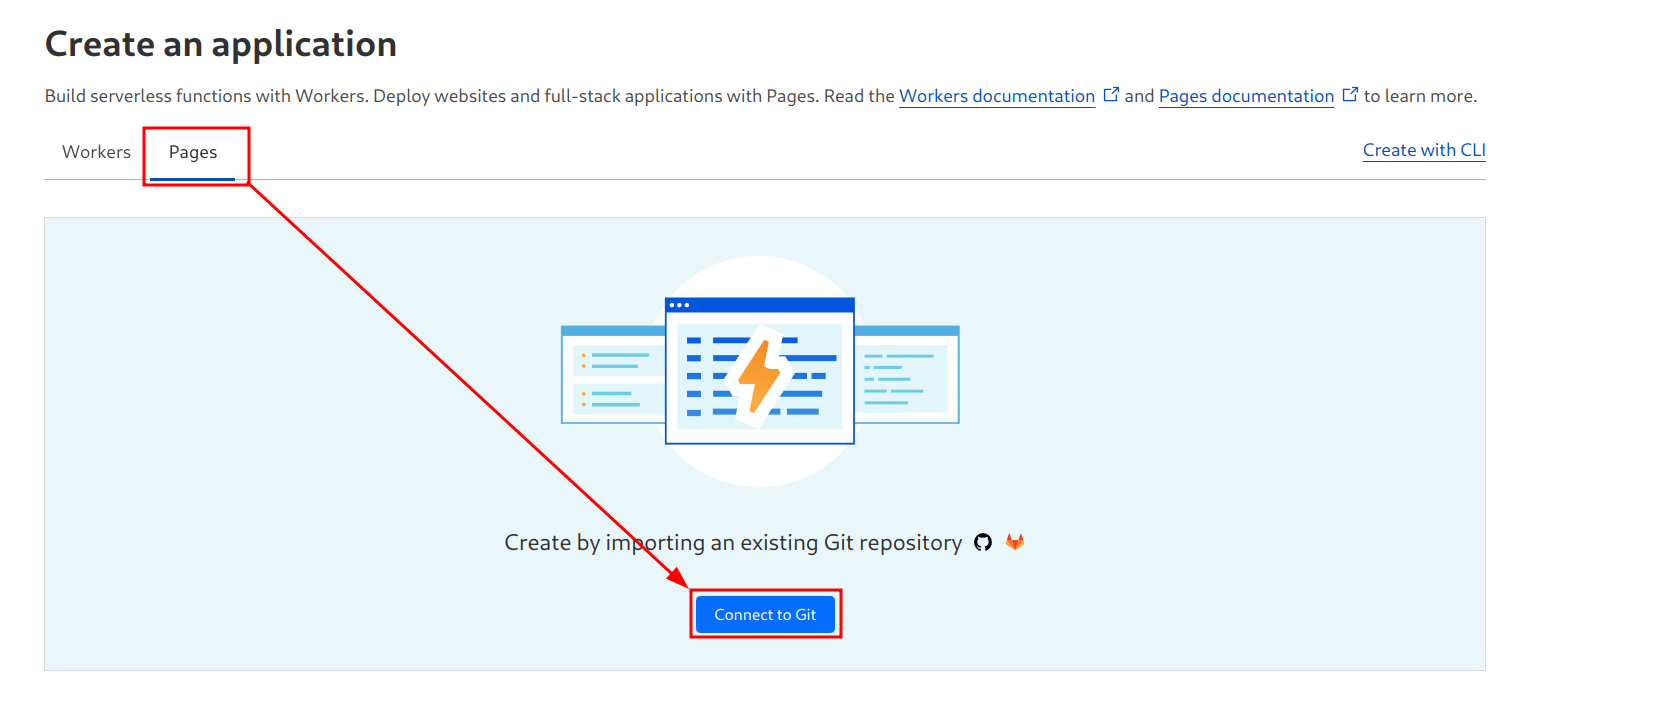
In Cloudflare, we can go to the Workers & Pages section and navigate to Overview, then click on Create application.

Select pages and click connect to Git.
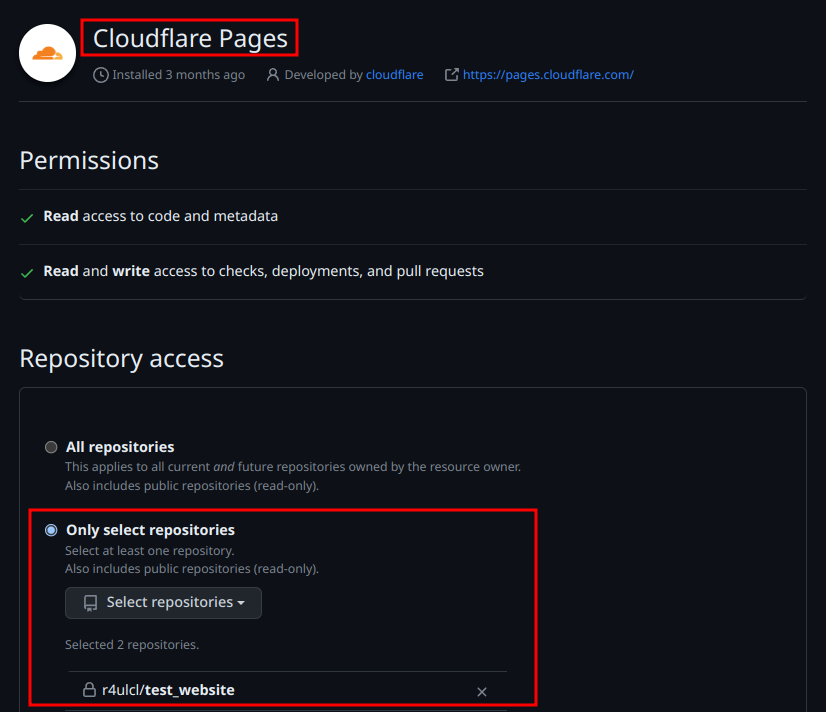
Install Cloudflare Pages and allow access to the repository only, then save.
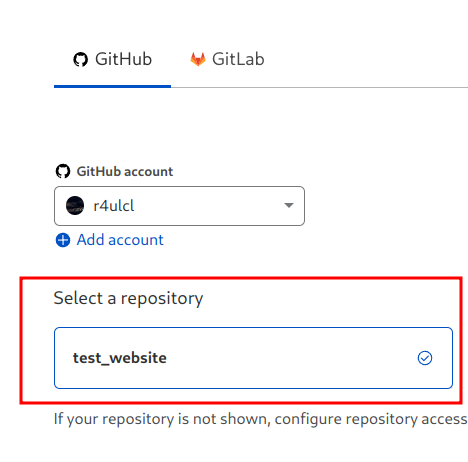
Now choose the repo in Cloudflare and click Begin setup.
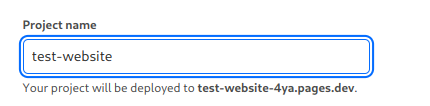
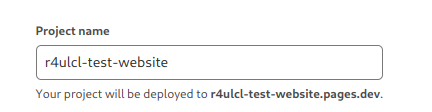
Set the project name. This name will be the subdomain name for the pages.dev domain. If the name is too common, it will add random text at the end.
Set the Framework preset to Hugo and the Root directory to the Hugo project name. This is because we have the repository with the folder instead of the web in the root.
Before completing all the information, we need to get the local Hugo version we are using. In a bash terminal we can run:
hugo version

Add an environment variable with the Hugo version to use (in this case 0.112.3), as the default one is outdated.

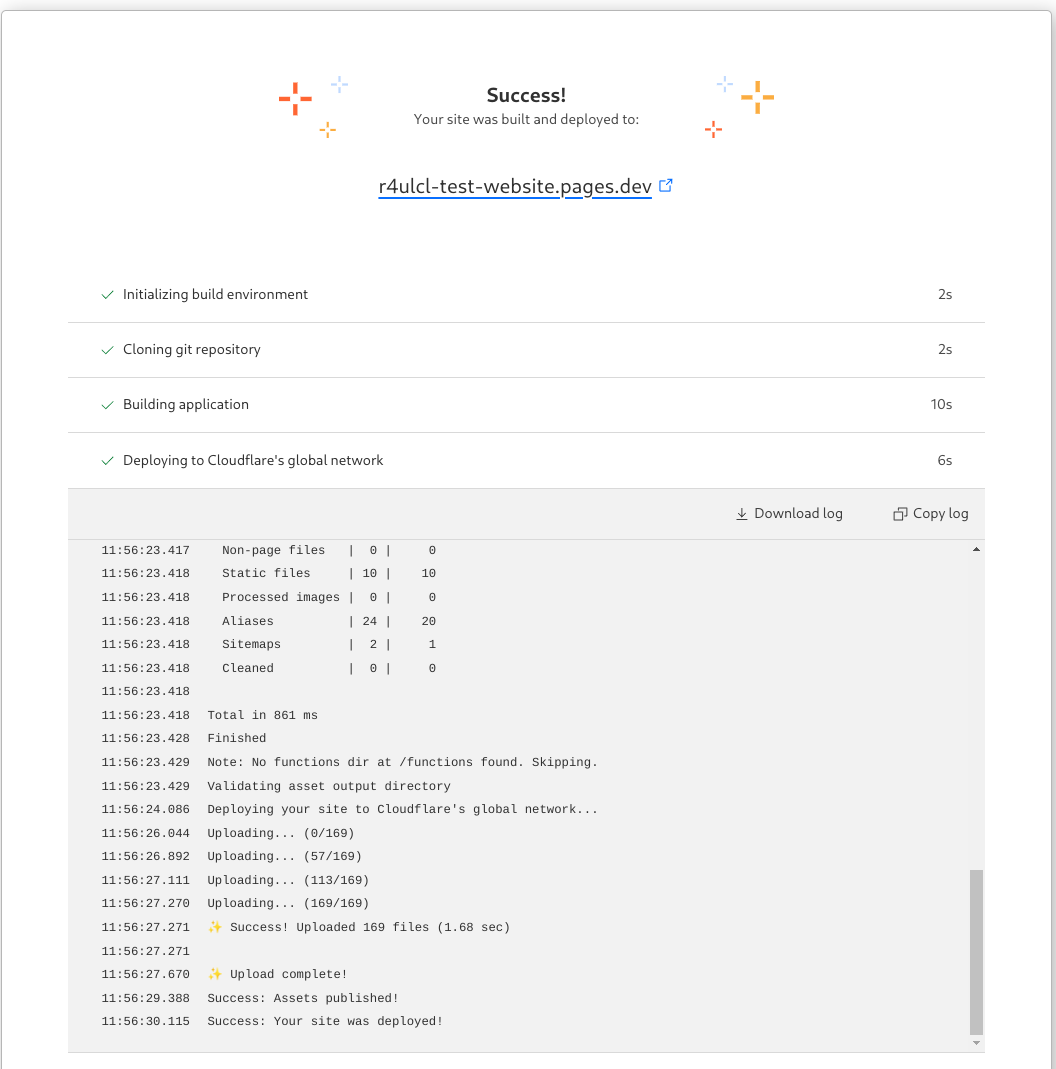
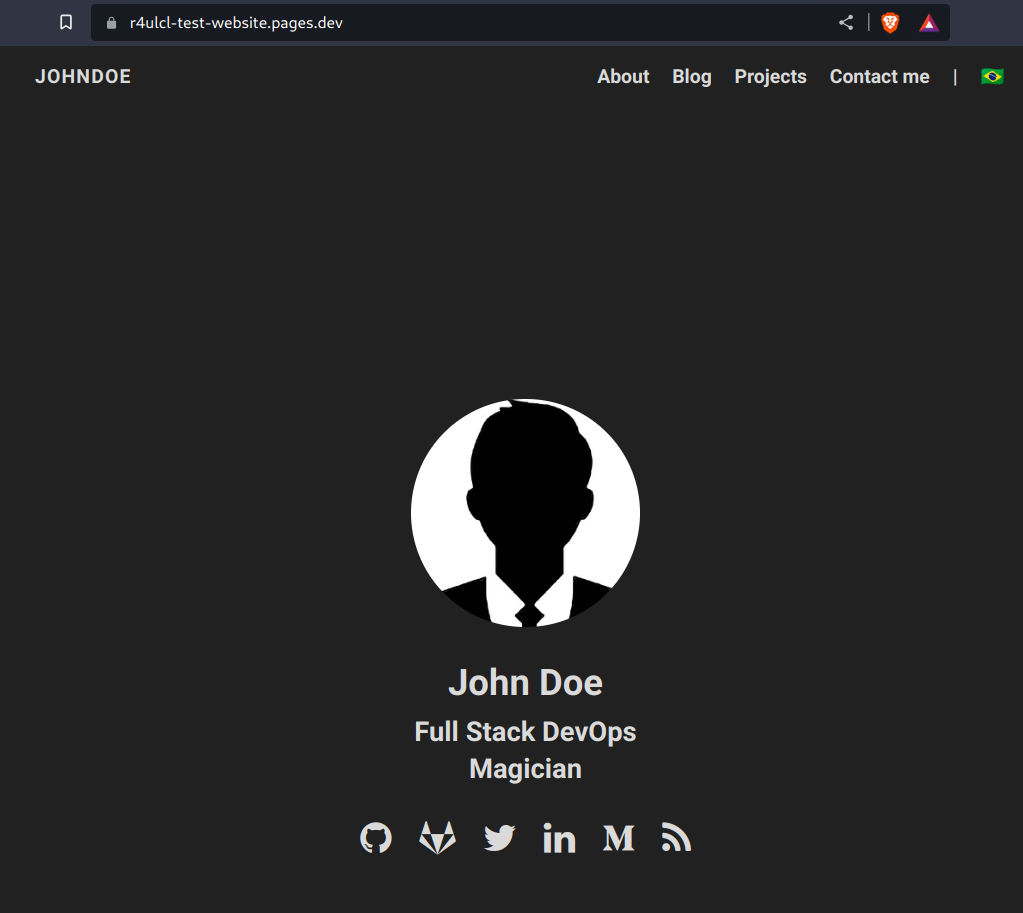
We create the page and that’s it. Normally you have to wait a while the first time for the DNS to be configured. Now we can access our website with the domain pages.dev configured.
Using your custom domain Link to heading
If you already have your own domain, you can simply go to Custom Domains and add the CNAME information to your DNS.

If you don’t have your own domain, you can purchase one from Cloudflare or another website. In Cloudflare, the .COM domains are priced at $9.15 per year.

Updating or modifying the website Link to heading
In the develop branch Link to heading
Go to develop branch:
git checkout develop
Edit the website and ensure that everything functions properly by running hugo server locally. Then commit all new information and push to the develop branch.
 git add .
 git commit -m "Update website"
 git push --set-upstream origin develop
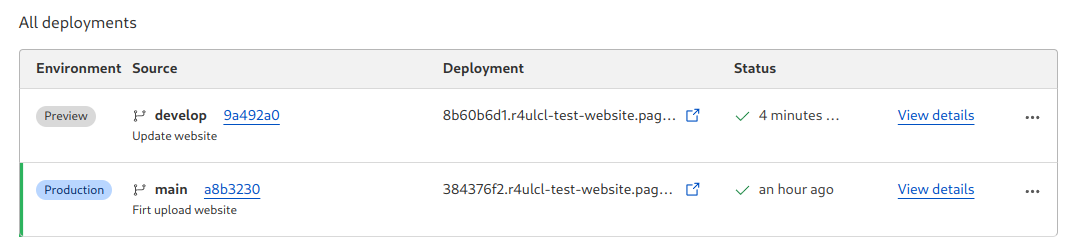
Verify that everything works perfectly by using the develop version on Cloudflare pages. If everything goes well, there should be a main and a develop version. Each deployment has a specific subdomain with an ID, but you can access the main version directly without that subdomain and the develop version with the subdomain develop.name.pages.dev.
Pushing to Main to Make it Public Link to heading
Once we have verified that the new version works on both develop and local, we can go to GitHub and create a pull request to main. To do that, we open the project’s website on GitHub and press “compare & pull request”.

Edit the pull request and create it.
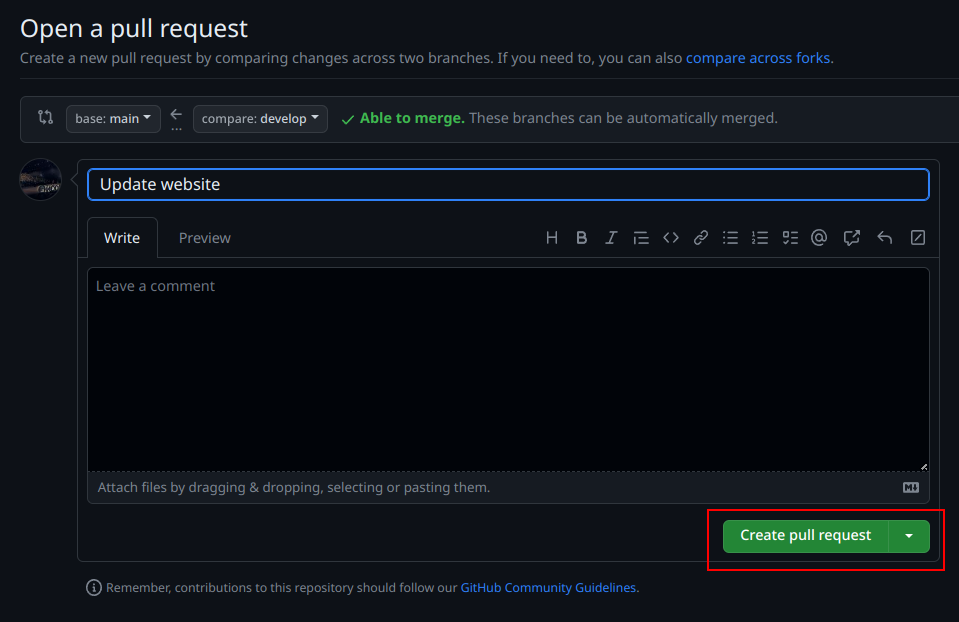
Merge the pull request.

Extra Tips Link to heading
Centering Images Link to heading
To center images on your website, you need to make some changes to the “normalize.css” file in the “./assets/scss/css/” directory. Follow these steps to do so:
- Locate the “normalize.css” file in the specified directory (
./assets/scss/css/normalize.css). - Open the file for editing.
- Add the following code to the file:
/* Code to center images */
img[src$='#center']
{
    display: block;
    margin: 0.7rem auto; /* you can replace the vertical '0.7rem' by
                            whatever floats your boat, but keep the
                            horizontal 'auto' for this to work */
    /* whatever else styles you fancy here */
}

img[src$='#floatleft']
{
    float:left;
    margin: 0.7rem;      /* this margin is totally up to you */
    /* whatever else styles you fancy here */
}

img[src$='#floatright']
{
    float:right;
    margin: 0.7rem;      /* this margin is totally up to you */
    /* whatever else styles you fancy here */
}
- Save the file and exit the editing software.
By adding this code, you will be able to easily center images on your website. To do so, when adding an image to a post, we can use #center to center it as follows:


REF: http://www.ebadf.net/2016/10/19/centering-images-in-hugo/
Adding a Table Of Contents Link to heading
To add a Table Of Contents (TOC) to your website, follow these steps:
- Create a new file called
toc.htmlin the./layouts/shortcodes/directory. - Copy and paste the following code into
toc.html:
<div>
    <h2>Table Of Contents</h2>
    {{ .Page.TableOfContents }}
</div>
- Save the file.
To insert the TOC into any of your blog posts, follow these steps:
- Open the desired blog post for editing.
- Locate the section where you want the TOC to appear.
- Remove the
//characters from the code snippet:
{{\< toc \>}}
- Save the changes to your blog post.
Now you will have a functional Table Of Contents in your blog post.
REF: https://codingreflections.com/blog/hugo-table-of-contents
Auto Deploying on a Specific Date Link to heading
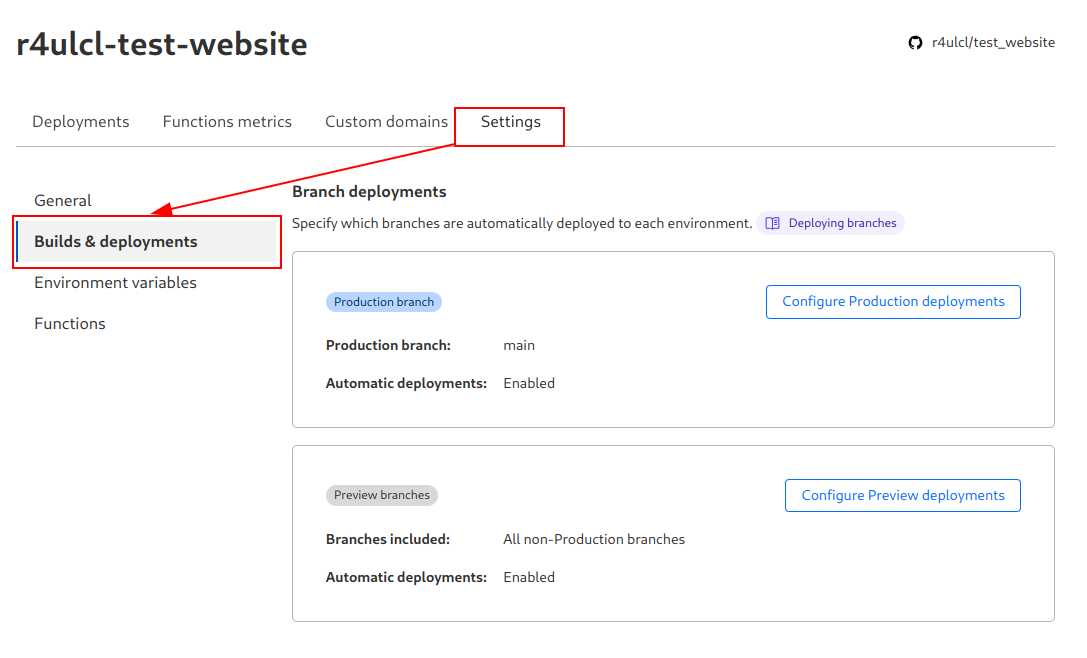
If you set a future POST date, the post will not be published if the deploy is created before that date. This is why it is possible to publish a post and manually force a deploy at the desired moment. This can be done on the web or using Deploy hooks. To obtain the URL of the hook, you can go to Settings, Build & Deployments, and Deploy hooks.
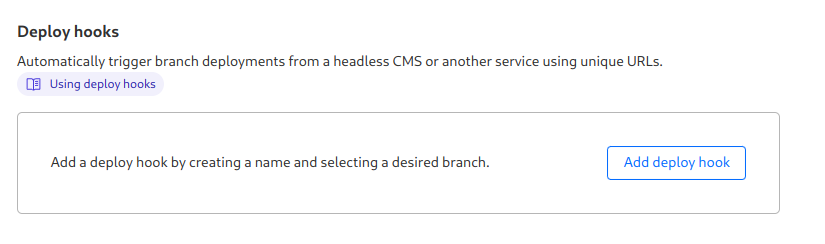
Set the hooks name and branch.

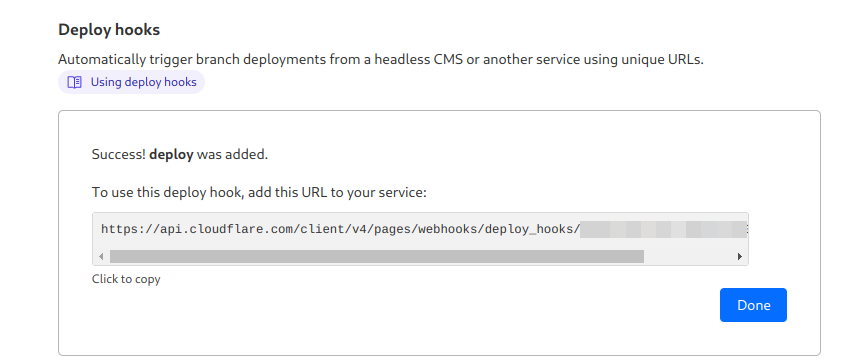
Now we can curl this URL at any time to create a new deploy.
curl -X POST "https://api.cloudflare.com/client/v4/pages/webhooks/deploy_hooks/$KEY"

